

Coffee 101: How to brew with the April Brewer
Hello hello! And welcome back to my little coffee space where we talk about brewing coffee better at home! This week we are going to explore how to with the April Brewer. I can see frowns forming. Let’s start from the begging.
Remember a few months ago? We were given the opportunity from Brewed by Hand to try and experiment with this new brewer, so we wrote a whole post about how great the April Brewer was. What we didn’t write was how to actually brew with it.
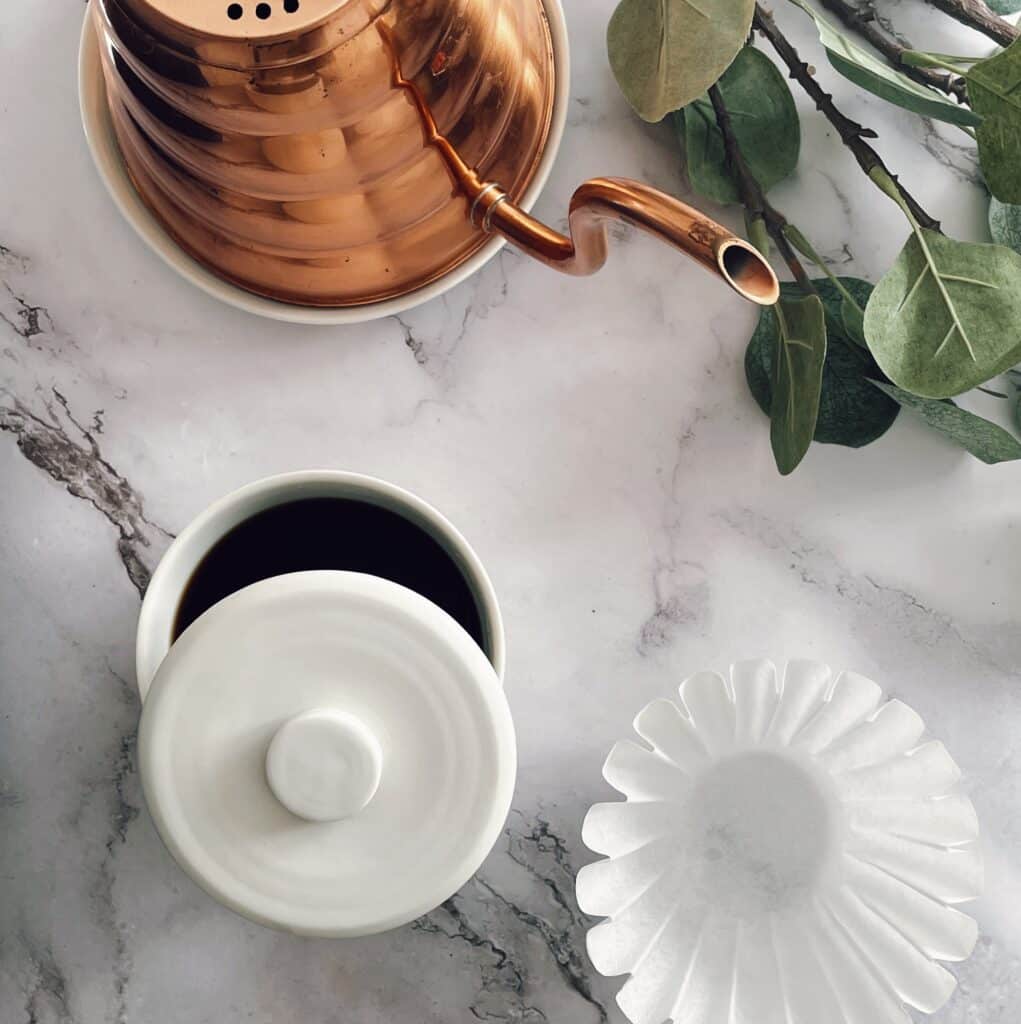
Therefore, here I am again bringing you a little coffee guide on how to brew with this favourite method of mine! I might have mentioned this before, but it is definitely a top 1 brewer. No wonder, it won 2nd place at the World Brewing Championship in 2019 (?? Was this the last time? God time flies!)
Anyway, as a short recap, the April Brewer was designed by Patrick Rolf of April Coffee Roasters. He brought it to the World Championships and won a well deserved second place and the highest scores of the whole competition. Basically pretty good damn coffee.
So, I thought I’d share my recipe for the brewer first, with the usual recommendations at the bottom.. let’s start!
How to Brew with an April Brewer – Quick guide
Difficulty: Medium Makes: around 250ml
Materials
- April Brewer Set (1)
- Filtered water
- A kettle, preferably with temperature control
- Filters, that fits the size of the brewer (2)
- 17g of freshly ground coffee, Ground like kosher salt.
- A good quality scale, possibly that weights to the 0.1
- A timer, if your scale doesn’t offer the option.
Instructions
- If you haven’t ground your coffee, grind it now and place it on the side.
- Put the filtered water in the kettle, and heat the water up to roughly 92C. (3)
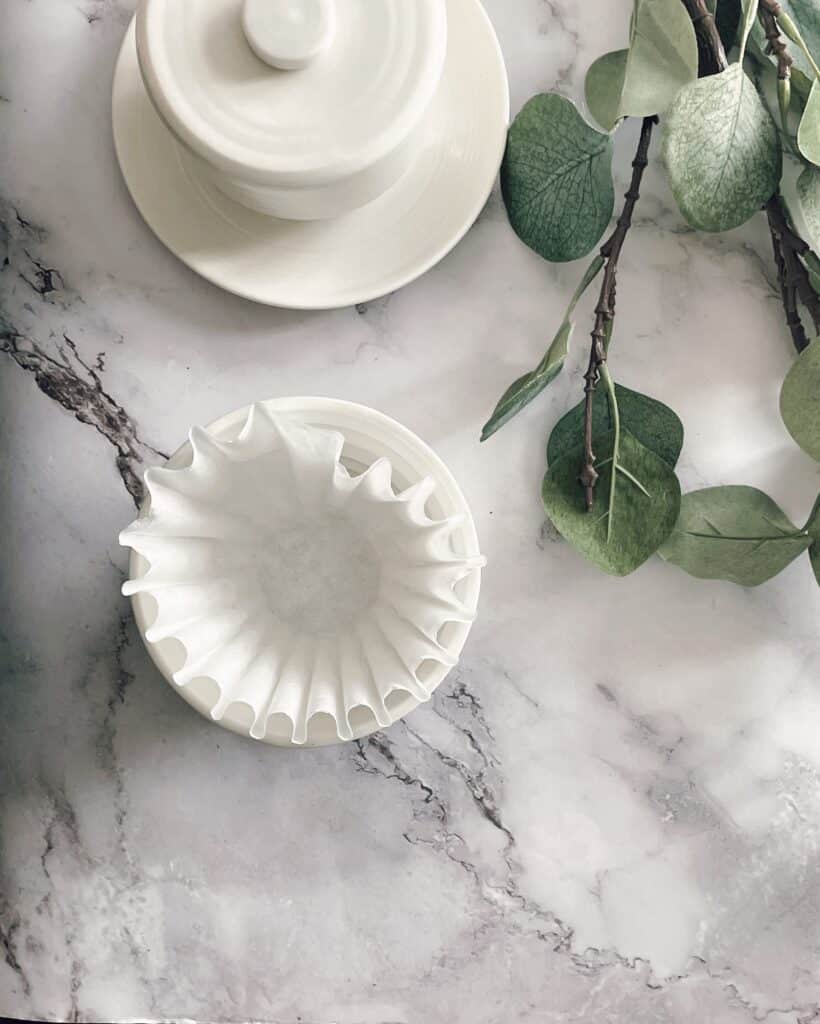
- Place a paper filter in the April brewer, with the decanter underneath and without the lid provided. Once the water is ready ensure the filter paper is well wet all throughout. The paper should adhere on the side of the brewer, with no air bubbles of sides that have not fallen in.
Empy the water in the decanter, and place it again with the brewer on top of your scale.
Weigh the coffee in, to max .1 of a gram and get ready to brew!
First, we will do what we call the bloom. (4)
Start the timer. In a motion, which i love to call “the pain au raisin”, pour 70ml/g of water in, ensuring all coffee ground are wet. (5)
When the time hits 30 seconds, pour another 100g/ml of water, in the same motion. This time however, we will live it to do it’s thing.
Once the clock hits a minute, add another 50ml, in the same motion. Again, no spinning required.
At 1:30, add the last 30ml/g of water, in the same motion and give it a last gentle spin.
Lift the brewer slightly, and give it a gentle tap on the decanter. (6)
Leave to fully drip, it should stop at around 4-6 minute. (7)
Dispose of the coffee grounds, or feed them to your succulas – they love it!- and give a gentle stir to the coffee in the decanter. (8)
Serve while still hot!
ANNOTATIONS AND EXPLANATIONS…
As usual, here are some geeky annotations and explanations of the brewing guide…
- April Brewer Set: The set has become available worldwide from last winter and is now available to buy directly from the April Coffee Roasters Website, or the Brewed By Hand Website.
- Filter Papers: the Brewer actually has specifically designed papers that you can buy from the roastery itself here, however the brewer fits the smaller size of Kalin a filter papers as well. As always, I recommend bleached papers because of the flavor profile and the fact that it won’t affect the coffee itself!
- Water Temperature: as I said, the ideal water temperature is 92C. Without getting too geeky on this, this is because this is the optimal temperature for water to grab all the nice compounds that make our coffee taste so nice. If you were to use boiling water, so straight out from the kettle, it would also grab very bitter compounds, and make your coffee taste over extracted. In the chance of not having a temperature control kettle, just boil the water and leave it to sit for a couple of minutes. That will do the trick!
If you are new to the coffee world, go check out our guide on how to brew the perfect cups of coffee at home. It will make all the below way more sense!
- the Bloom: the first part of your brewing process is called the bloom. This is because, just like a flower in spring, it’s when the coffee starts to open and release all those aromas and compounds that make our coffee so tasty. If you notice, it bubbles during this stage for this reason!
- Spinning your brew: this is essential for pour over and there is a great reason why. Wait, you are asking why don’t we use a spoon? Well, Scott Rao, The coffee guy has teamed up with an astrophysicist to explain why. Yes, you read that right. Go ahead and click here to read about it.
- Tapping at the end: well similarly to the spin, tapping gently at the end will help with water distribution and ensuring your bed is nice and flat. Why at the end? Well, that’s when most bitter compounds come out, and you don’t want too much of it.
- Grind Size: again, I could be here forever talking about this. When grinding for pour overs, you want an almost coarse size for your ground coffee. Sort of like salt flakes. If your brew tastes very acidic at the end, just fine your grind a little to balance it out. Simultaneously, if it tastes to bitter, coarsen it up a little. Don’t go too far out with changing your grind size, it could be trouble and frustrating!
If you check April’s YouTube channel, Patrick has shared a few different recipes to try that we also loved as well. He is the second-best in the world after all!
If you have any questions on the above, please don’t hesitate to contact me below.
Pin this!



What a fascinating way to make coffee, good write up on it too 🙂
Love this post! Coffee is so fascinating – so many different types and ways to make it. My bf is very particular about drinking good coffee, I’ll have to show him this.
Coffee brewing isn’t exactly something I know too much about but I love your posts about coffee and I’ve definitely learnt a lot from this one too x
So much goes into this, I think I’m some expert barista by just leaving the kettle to cool a bit before brewing haha!
Corinne x
This looks lovely for a slow Sunday morning! I love pour-over coffee brewers. Thanks for going into depth about the April brewer. Thanks for sharing x
Lynn | https://www.lynnmumbingmejia.com
Well this just makes me want to go try being a coffee drinker again! I’ve honestly tried so many times but for some reason I still don’t drink it! Loved reading your post though!
this recipe looks so good, i am a coffee fan especially ice coffee, so this will help me to prefect the morning coffee for me, thanks for sharing!
This looks very interesting. My hubby is a coffee lover, so sending the article on and we may have to look into it! x
Hi Federica,
What a fantastically detailed review and guide, thank you. As a coffee-only drinker (I don’t drink tea!) this was a great post for me. Right, off to make myself a drink … 🙂
I have never brewed using the April brewer before and so it was nice to learn something new. I’m not a big fan of coffee lol. It’s been so long since I had coffee tbh. I should give this a try.
okay YES. I needed this – we have been getting WAY more into fancy tea & coffee making. I absolutely need to try home brewing! x
This looks great! Thanks for sharing and teaching me something new. 🙂
xoxo Olivia | http://www.oliviaandbeauty.com
Wow I had no clue about everything that went into brewing this way – you did a fantastic job outlining it all in a very clear and easy to understand way!
I get so confused about coffee brewing – I don’t tend to drink coffee that much apart from an instant coffee or mocha. Maybe the occasional iced coffee too! The April Brewer seems really great tho 🙂 x
I had just been recently into coffee because I wasn’t allowed to by my parents when I was younger haha. Love the simple recipe and the explanations about each step. Now I want some coffee… yum! Hope there are pictures x
http://www.lifebeginsattwenty.com
It looks lovely! I love coffee but never has this brewer. Must take a look. Thank you for sharing!
I’ve actually only recently gotten into home brewing coffee and I currently just use a cafetiere but it’s a little big for when it’s just me so this looks perfect! Such a great guide as well!
This looks so cool!
Us coffee lovers need posts like this. So interesting and fun.