

How To Create A Beautiful 10 Minutes Spring Charcuterie Board
You will probably be thinking, yet another charcuterie board? Really? I might have gotten obsessed with them and then taken Simona to the dark side and that’s why this beautiful spring charcuterie board is here! Jokes aside, although the obsession is there, I think that charcuterie boards make an amazingly quick and easy appetizer when you host.
And in the event of Easter coming up, as well as plenty of national holidays and summer in the next few months, almost everyone is bound to have people over. So why not find a time-effective way to serve a showstopper that won’t break the bank and won’t keep you in the kitchen for a long time?
This springtime charcuterie board turned out even better than I expected and even after some fun dramas happening while in the making! The day Simona and I were filming and creating this board it was quite windy. Since coming back home we decided to do most of the pictures outside thanks to the natural light and amount of space. But funny enough, with a bit of wind, one of the salami roses flew off the plate and my puppy – Miso, decided it was fun enough to make a run for it, salami rose in mouth!
Let’s say it was eventful, to say the least! A new salami rose was created and the crisis was averted. Miso was a very happy puppy indeed until the salami was taken away from her.
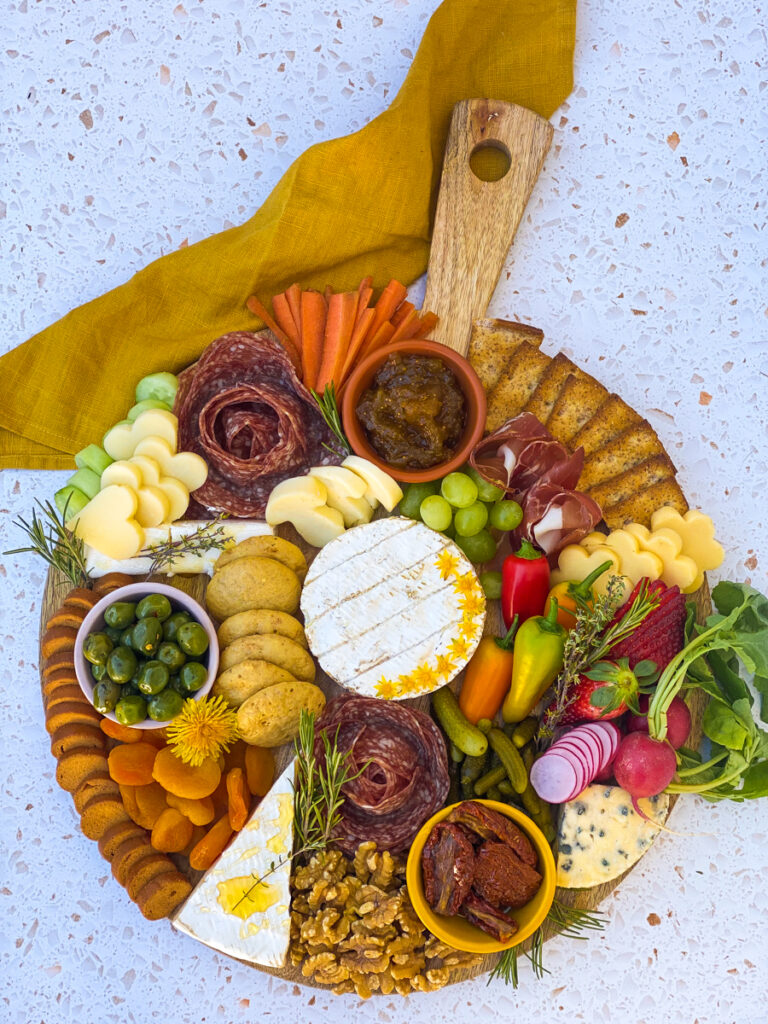
What is a spring charcuterie board?
The ultimate spring charcuterie board is similar to a regular board in the fact that it holds a spread of meat, cheese and nibbles. What sets it apart is the add-on of seasonal vegetables, fruits and greenery which helps celebrate the arrival of the new season. Seasonal products and bright colours are key ingredients for this board and what makes it special.
What ingredients to put on this spring charcuterie board?
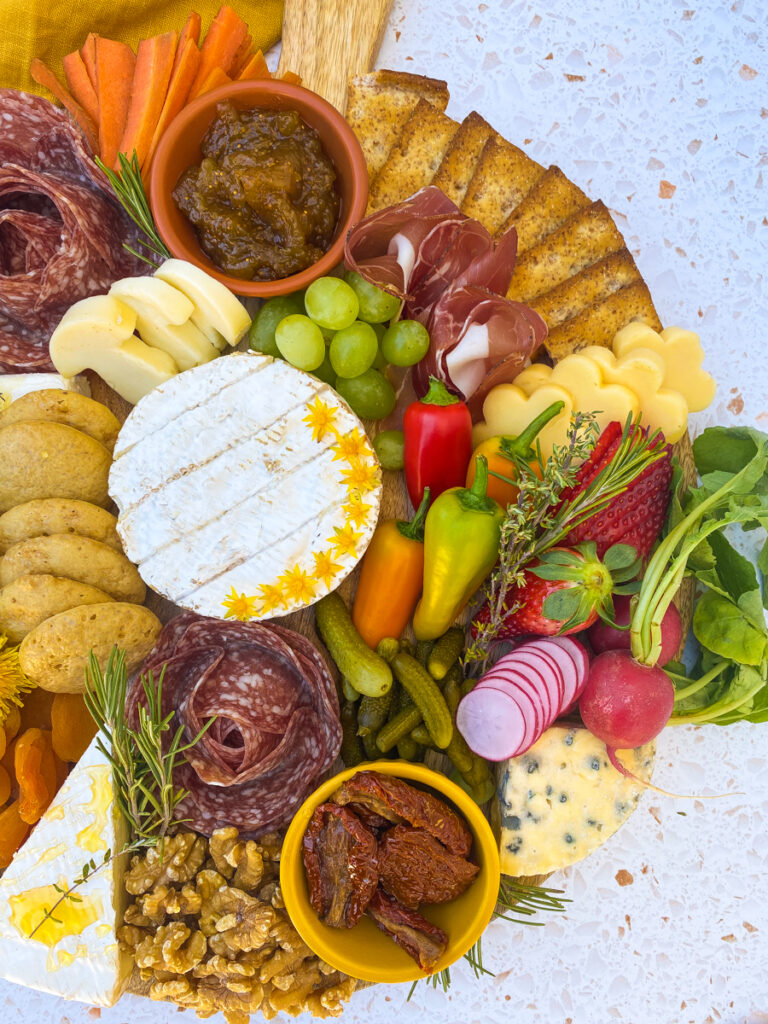
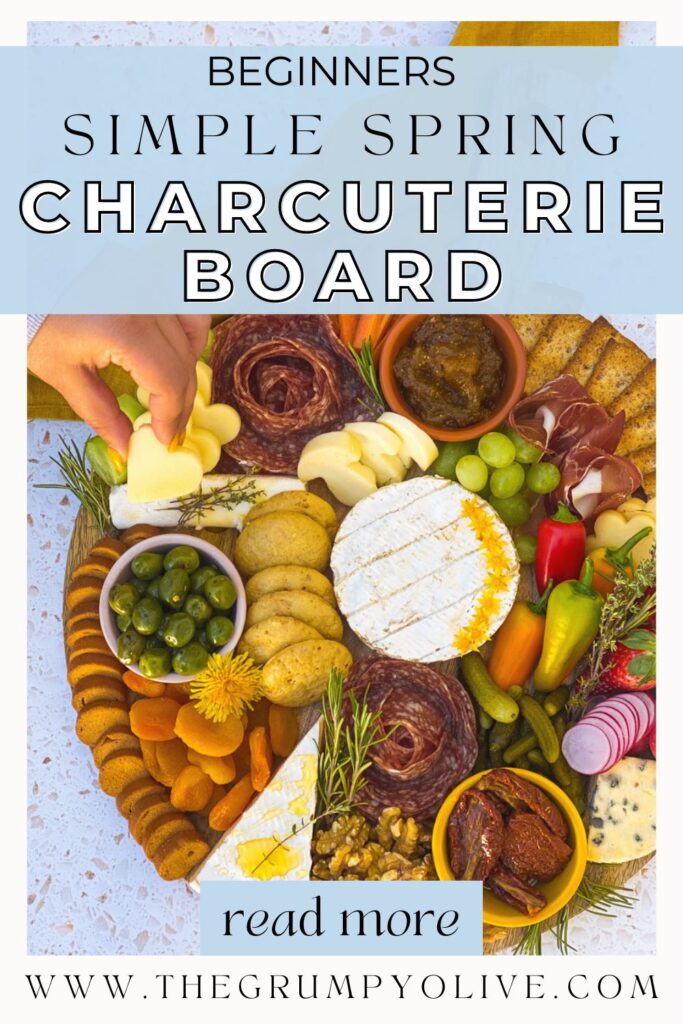
As spring brings a lot of sprouting of new plants and blooming of new flowers, you will want to bring the same on your board. That’s what I tried to recreate here thanks to different coloured vegetables, nibbles, fruits and flowers. This is what I used:
CURED MEAT & CHEESE
- Salami – with which we created the roses;
- Speck – or otherwise use any kind of prosciutto you fancy;
- Camembert;
- Brie;
- Soft cow’s cheese;
- Gouda – which I cut in a flower shape;
- Taleggio – which I cut in a mushroom shape;
- Asiago – which I cut in a heart shape;
- Bavaria Blu.
FRUIT & VEGETABLES
- sliced carrots;
- cucumber – which I cut in a round shape;
- grapes;
- sweet mini peppers;
- strawberries;
- gherkins;
- radishes- both thinly sliced and entire ones;
- dried apricots;
- rosemary;
- thyme;
- dandelions – any edible flowers to decorate will do, that’s what we had on hand.
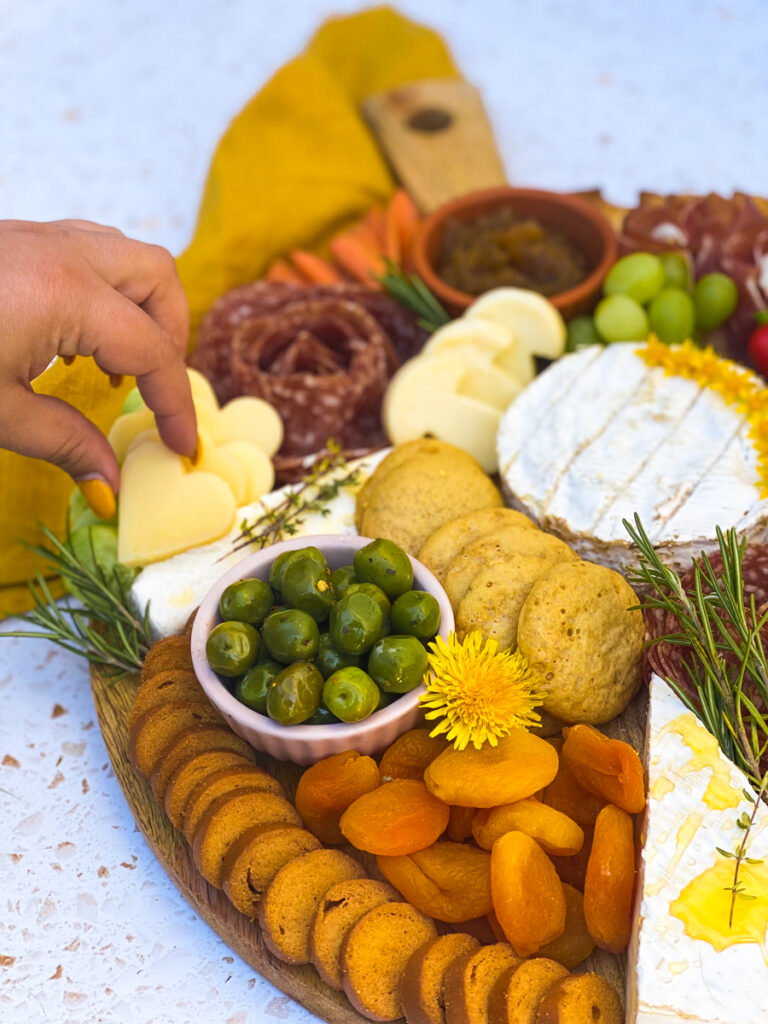
NUTS, NIBBLES & CRACKERS
- walnuts;
- green pitted olives;
- sundried tomatoes;
- fig chutney;
- honey;
- crostini;
- fennel crackers;
- plain crackers.
What other kind of springtime charcuterie boards can work?
Apart from the usual spring cheese and charcuterie board, you could make some delicious and colourful alternatives. Like this colourful veggie platter which screams spring to me. You could also use a spring crudité platter or a fresh fruit board. Check out also this Modern Honey charcuterie board, a simple spring cheese board and this spring berry cheese board if you need more ideas.
Whatever idea you can have about spring can easily be translated into a charcuterie board. Whether you want to make a bigger design of your ingredients, so that when you look on top of it you get a shape, or you just prefer a more relaxed board, just have fun with it!


Can I substitute any of these spring charcuterie board ingredients?
Absolutely yes! The best thing about charcuterie boards is how versatile they are! You can change anything that doesn’t suit you. Cheese-wise, you would want to go for some hard and soft cheeses, as well as different textures and flavours. If brie or camembert are not your jam, you can go for a soft goat cheese. If gouda, asiago and taleggio are not your favourites, you can go for cheddar cheese, manchego or parmesan. If the Bavaria blue is not for you you can pick a Roquefort or Stilton, or avoid blue cheese altogether.
Talking about charcuterie, you can swap the speck for some prosciutto or sliced pancetta. If salami is not one of your favourites, you can swap it for any other cured meat you like. Crackers can easily be swapped with baguette slices or a different kind of bread. The veggies just need to be colourful, so anything bright can work. Nuts and dips can easily be swapped for your favourites too.
How do I make charcuterie roses?
I had seen charcuterie boards with these eye-catching charcuterie roses and I was smitten! I have found that when making boards, sometimes charcuterie looks a bit put there without much significance, this just gives it a more appetizing look.
To make these charcuterie roses, all you will need is a water glass. Depending on how big the diameter of the glass is the bigger the rose will be. All you must do is fold the slices in half and place them on the glass rim. Keep doing that until it almost reaches the centre. Then flip the glass and apply some pressure on it. Take off the glass and ta-da, and you will get an amazingly easy charcuterie rose! Here’s a video on how to make meat flowers for a charcuterie board!
How to make a springtime charcuterie board Step by step
- Start off by picking your board, tray or plate to use for your board. Make a plan for it before starting.
- Place the different bowls first and pick what to fill them with, we used one for a chutney, one for sundried tomatoes and one for olives.
- Place the crackers or bread around the border of your board, using two or three types to give a different choice.
- Now it’s time to place your cheeses on the board. Use different colours, textures and heights around the board to create movement and spots of colours on the board.
- Prepare your salami roses and place them on the board. Finish up by placing your cured meats on the board.
- Fill the gaps in between with fruits and vegetables. Make sure to spread them around the board and really make them valuable add-ons.
- Use the remainder of your nibbles and walnuts to fill the gaps. Add the herbs, any edible flowers to decorate and drizzle some honey on some cheese. Get ready to admire your beauty and serve!

Any tips and tricks for this charcuterie board?
As I mentioned before while writing about the 30+ Easter charcuterie board ideas and Simona’s ultimate Easter cheese board, the biggest tip I can give is to be organised and work ahead. But let’s check out all that can help you.
- Get organised and work ahead;
- Get the right size of board, tray or serving plate;
- Use props: all small bowls or containers that can add height to the board;
- Add height and dimension;
- Use ingredients that are easy to find locally or at your grocery shop.
Although these are tips that can help you out, what you need to remember is to have fun with it and make something you can be proud of!
SHOP THE POST

If you loved this spring charcuterie board, why not check out these too:
- 30+ easy Easter charcuterie board ideas
- Ultimate Easter cheese board
- Easter candy charcuterie board
- Easy peach hand pies
- Super easy tofu nigiri
Did you enjoy this spring charcuterie board? Are you going to make one to celebrate the new season? Let me know in the comments!
PIN THIS SPRING CHARCUTERIE BOARD FOR LATER!




One Comment